

Tag Types
- Email Tags — Labels that classify a single email or a selection (e.g., Do Now, Finance, RFP). These power filters, rules, and Today’s Focus.
- Contact Tags — Labels attached to a person (e.g., Client, VIP, Partner). They influence prioritization and can be used as filter chips in the inbox.
System tags (e.g., Do Now, Schedule, Delegate, Delete) are provided by Zenbox and can’t be removed. You can add unlimited custom tags.
Apply Tags to Emails
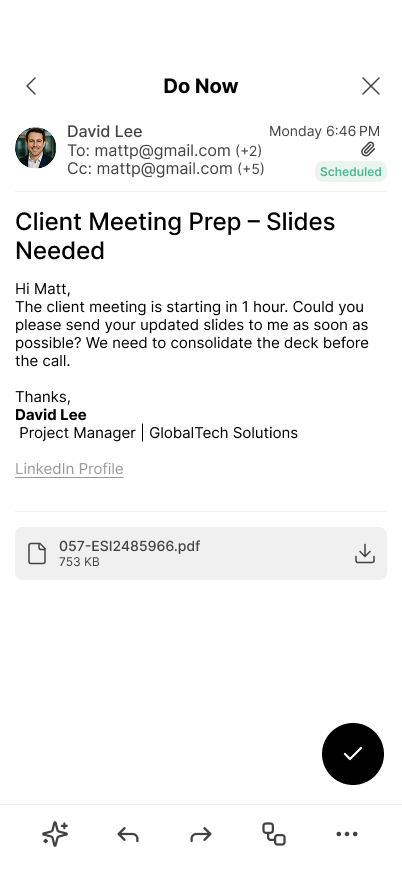
You can apply tags from the reading view.
Create a New Tag
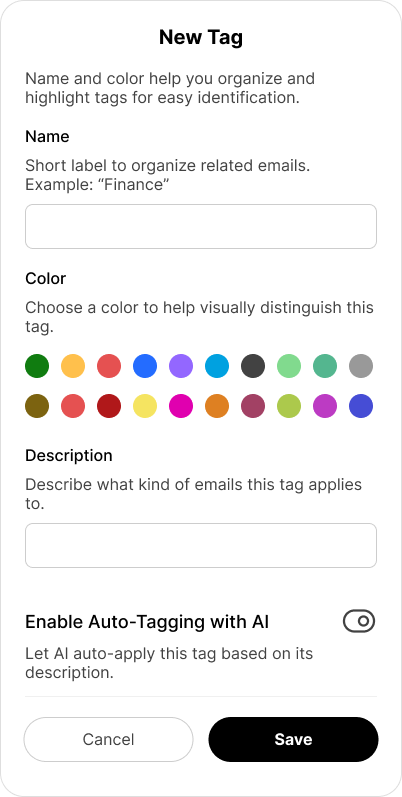
- Name: Short label (e.g., “Finance”, “RFP-2025”).
- Color: Choose a color to spot the tag quickly.
- Description: Describe what belongs here (used by AI).
- Enable Auto-Tagging with AI: When on, Zenbox will suggest/apply this tag to matching new emails.
Auto-Tagging with AI
When enabled on a tag, Zenbox evaluates new messages (subject, sender, brief content signals) and applies the tag if it matches your description.
- Scope: Works for incoming emails and can consider contact tags as hints.
- Control: You can always review or undo tags. Contacts set to Exclude from AI are not auto-tagged.
- Privacy: Tag logic respects your workspace privacy settings and policies.
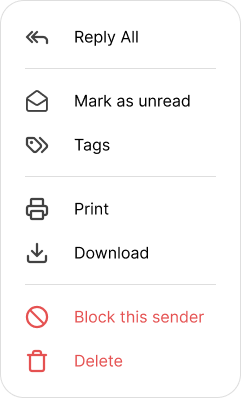
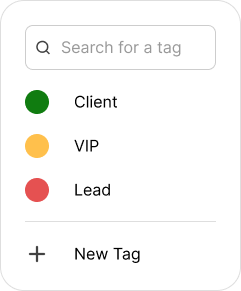
Manage Your Tags
A simple screen to organize your email and contact tags: search/filter, edit names/colors/descriptions, toggle AI Auto-Tagging, and delete tags.
- New: Create new tag.
- Edit: Rename, change color, or update description/AI setting.
- Delete: Remove a custom tag (emails/contacts remain; only the label is removed).
Tips & Best Practices
- Keep names short and unambiguous (e.g., “Billing”, not “Bills&Invoices2025”).
- Use Contact Tags for long-term relationships (Client, Vendor, VIP) and Email Tags for topics or actions.
- Turn on AI only for tags with clear, well-written descriptions.
- Review auto-applied tags weekly and merge duplicates to reduce clutter.